I´ve posted in my blog many tutorials and how to´s witch are not mine. unfortunately i dont know name of autors or links on its original website coz i´ve stored these in my pc for long time. If You will find your work and u dont want me to publish it or u wish to publish your name/website, kindly send me note under its post.
Thank You.

Saturday, June 30, 2012

twine ball lights


{You will need}
  • Twine ~ Either plain or in colours of your choosing
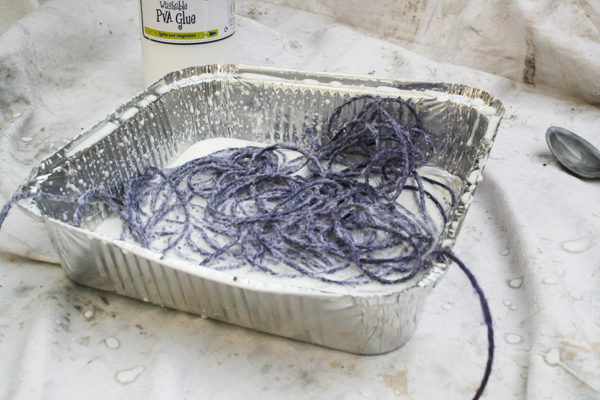
  • PVA Glue ~ About 1/2 litre
  • Cornflour
  • Warm water
  • Balloons
  • Marker pen
  • Vaseline
  • Old tray for the glue mixture
  • A broom or long piece of wood to hand the balloons from
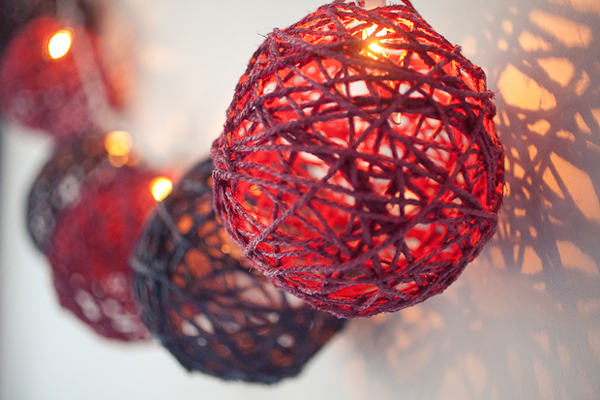
  • Twinkly light garland to attach the twine-balls to
  • Fishing wire
  • Spraypaint in the colours of your choice ~ I used Rustoleum painters touch multi-purpose paint 
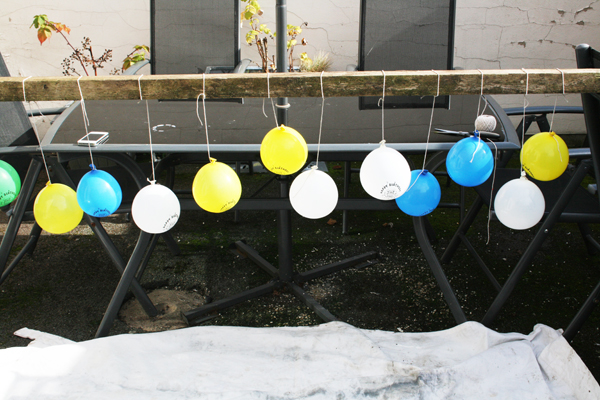
{One} First of all blow-up the balloons, one for each twine-ball you want to make and draw a circle around the top using your marker so you know where to wrap your twine up to, then smear the balloons with a thin coating of vaseline, this will stop your twine from sticking to the balloons.
{Two} Next I tied a piece of string to the ends of each balloon and then around an old piece of wood which I had balanced across the backs of two chairs in my backyard. This allowed me to work quite easily with the hanging balloons. Make sure you have something underneath, like plastic sheeting or bin bags to catch all the drips.


 {Three} Now make your glue mixture, take the old tray (I used a disposable roasting tin so I could just throw it away afterwards) and mix up PVA glue, a few tablespoons of cornstarch and warm water. You want the mixture to be smooth, not too runny, and make sue there’s lots of it as twine is quite absorbent.
 {Four} This is the really messy part. Take the twine and dip it into the glue mixture, running it through so it is entirely soaked, then begin wrapping it around the balloon, both vertically and horizontally until you get the desired effect. I wanted mine to have quite a lot of twine so did this a few times. When you have finished snip off the end of the twine and tuck it underneath another piece so it doesn’t stick out. Do the same for all the balloons.
 {Five} Leave to dry overnight, you will find that your twine balls have now gone hard, if they haven’t then just leave them a little longer until they are fully set. All the balloons on mine began to pop as they dried, but if they haven’t give them a nudge and pop them then remove the balloons.
 {Six} You can now spraypaint the twine balls into your desired colours and attach to your light garland. I used fishing wire which is clear to attach mine. Hang with more fishing wire.

                                                                here is whole tutorial

No comments:

Post a Comment